
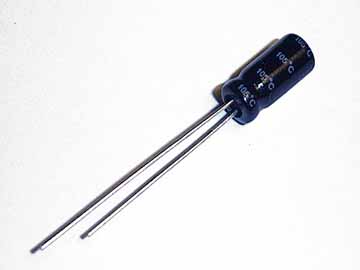
fig. 71
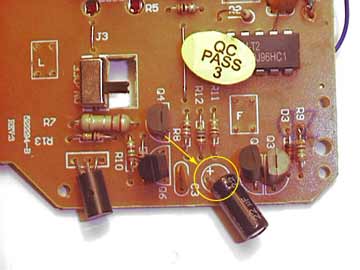
fig. 72
This mod extends the charge time on the Tomy controller from 45 to 90 seconds. A longer charge time eliminates the need to perform multiple charges on cars with high-capacity rechargable NiMH / NiCd cells with capacities of 100mah and higher. The 90 second charge also eliminates the need to charge the stock battery twice, since the default 45 second timer doesnt often fully charge or "peak" the 50mah NiCd. This mod requires a 16V/47uf/105c capacitor to be compatible with the Tomy circuitry (see fig. 71). You can buy one here.
Disassemble your controller, and look for the capacitor in fig. 72. Remove by unsoldering the capacitor from the underside of the circuit board. Replace with the 90 second timing capacitor, inserting the (+) positive and (-) negative prongs accordingly to the (+/-) markings on the circuit board. The negative pole is indicated by a light grey strip and arrows along the side of our capacitors.
Cut the excess lengths off beneath the circuit board with wire cutters, then carefully bend the capacitor into a 90 degree angle to allow the controller cover to fit back on. Be sure to test the charge time before reassembling your controller, to be sure your modification is successful.
Special thanks to Graham Weatherly for this valuable contribution!
31. Rare Earth (NdFeB) Steering Magnet
"Neodymium-iron-boron or neo, is the world's strongest permanent
magnetic material, in it's purest form. ...far stronger than barrium-ferrite,
or ceramic magnets as we call it, that we use in most r/c car applications."
Big Jim's Guide to RC Motors - Magnet Theory
This mod replaces the stock magnet with a neodymium-iron-boron magnet more commonly known as a rare-earth magnet. The replacement magnet is the same diameter as the stock magnet, but half the height. Combining two of these magnets gives the proper dimensions necessary for replacement. Magnets are often measured in units called gauss and these rare-earth magnets offer a combined measure of 21,600 gauss vs. only 2250 from a similar sized ceramic magnet.
Begin by disassembling your front end, exposing the steering arm that holds the magnet. Remove the magnet. Be careful not to damage the clip. In older Bits, magnets snap in so removal is easy, but in newer models there is a small dab of glue that secures the magnet in place. If the magnet is glued in, removal is fairly easy, as the glue is quite brittle.
The magnet should sit center between the two coils naturally because the steering assembly is based on a Helmholz assembly, so the space (volume) between the steering coils becomes neutral (constant). Polar orientation matters, but it is difficult to determine correct orientation because of the Helmholz effect. The magnet will sit comfortably between the coils in both directions. You can determine the correct orientation by sending a charge (steering signal) thru the coils, and the magnet will respond accordingly.
Reassemble in a clean open space. These magnets are very strong and will lift the steering knuckles (struts) out of place because of the steel axle pins in them, making reassembly a little tricky and also can cause the small parts to shoot away. You can purchase the magnets in our online store here or from any magnet distributor or motor assembly manufacturer.
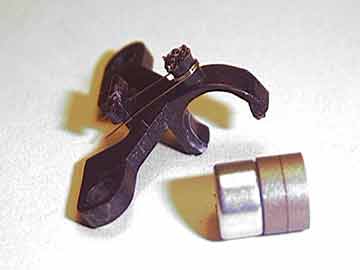
fig. 73
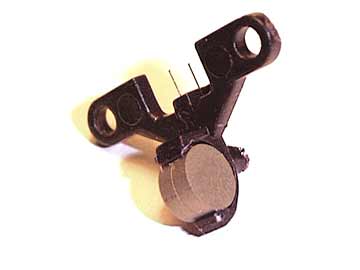
fig. 74
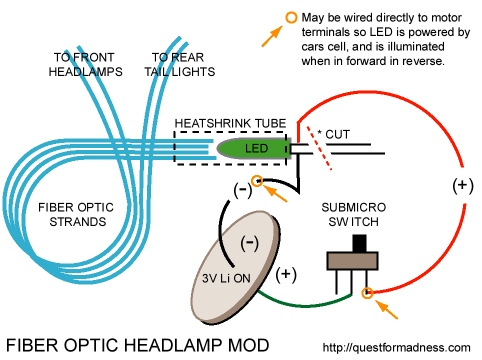
fig. 75
fig. 76
30. Fiber Optic Light Mod
Coming soon.
33. Bit Racer Charger Conversion for BitChar-G
Coming soon
fig. 77
fig. 78