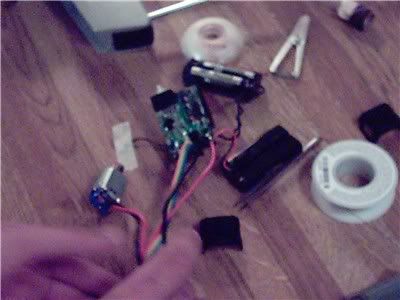
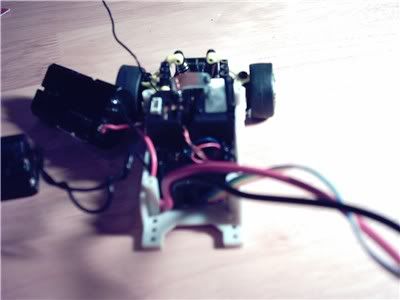
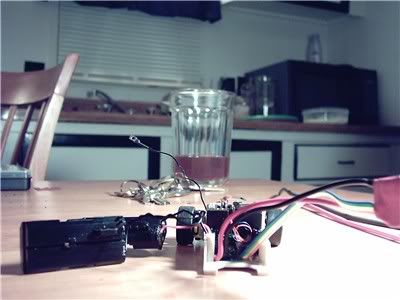
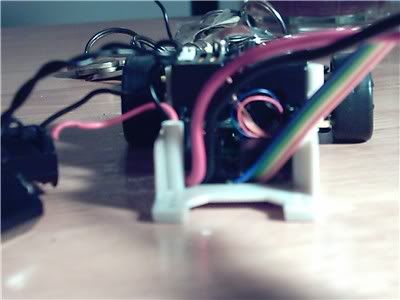
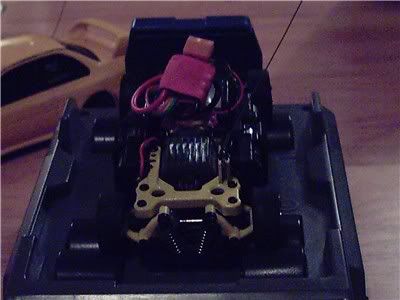
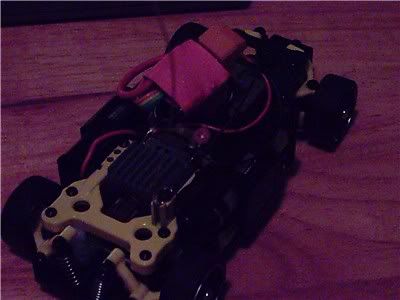
The routing of the wires is a bit tricky, because you need enough room for Nelly 1.2, a Dual cell holder, velcro, and extra wires.
I routed Nelly to the front and down through the center of the CF front deck and up and out the front of it between the shocks and then toward the back. This leaves enough room to install the AWD later and positions the Nelly board in the right position to connect the motor wires. Plus its up under the hood/windsheild area of the car, leaving plenty of room for the extra cells.
Things to do while installing...
Learn from what your doing!!!! Is the most important thing.
This is what was learned through-out this install, both by, Bird and myself. He picked up different things and so did I, so if I leave anything ut Bird, Please post your experiance soon!!
Some of these will be gone back and performed on the car.
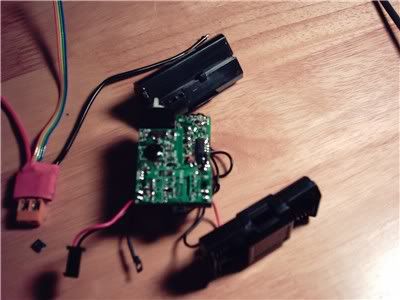
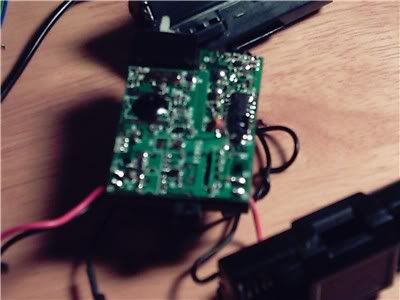
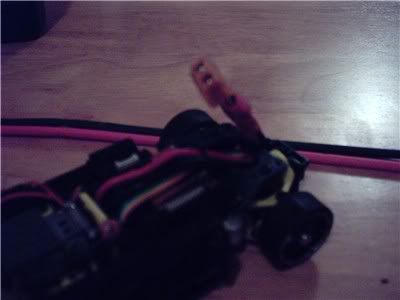
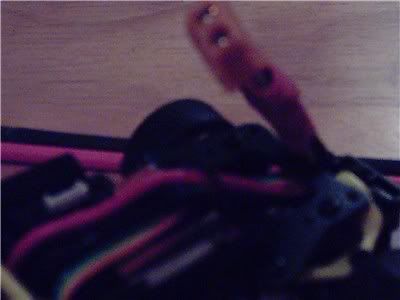
The Nelly 1.2 wires can be shortened by about 1 3/4 inches to 2 1/4 inches, depending on routeing and confidence in soldering and wire handling. We weren't sure how this procedure was going to go, so we stayed on the safe side. It when great, so shorten those Nelly wires for your install.
When soldering the rainbow wires to the PCB, do so, with the wires facing away from the switch area. This was a revalation after they were already soldered. We said let's try it this way and just never went back to change them. Also when soldering the power wires to the PCB, put them on at a slight angle so that they lead away from the chassis post when you put the PCB back in the chassis. Try it and see where they come out and the angle that works best.
Use a pinion pusher or a vise to put a pinion back on a motor!! i ruined 2 motors during this, all by trying to pound the damn pinion back on. I bent 2 armatures. The car now has an Escalation Motor from TOyEast installed in it with upgraded, thicker wires.
Use 18 gauge for all your wiring if possible. Rewire your motor leads, your battery wires, and anything else you feel comfortable doing. By doing this you get a sturdy system. I'm sure there might be a technical reason, but I'll leave that info up to the pros. (Ask Ph2t about it, i'm sure he has a reason and the knoweledge to elaborate on the topic of different gauges of wiring and they're functions.)
Take your time and have some extra time set aside for errors and adjustments.
Take pics and notes if your that type of record keeper.
Enjoy installing it!!

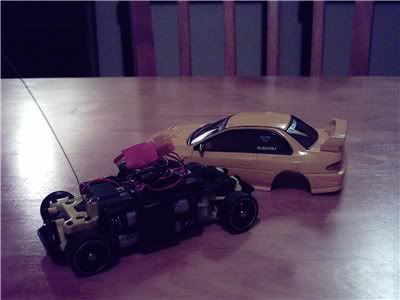
Here are the specs of the current car.
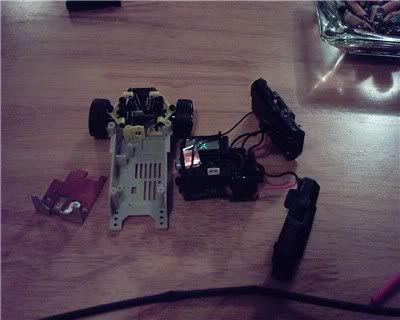
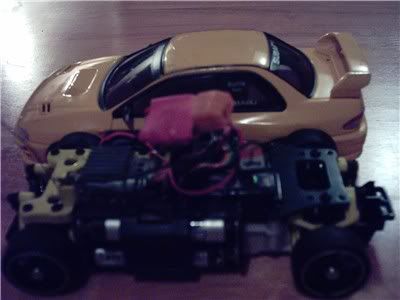
Stock Nissan 350z Chassis with front nose clip
Honda Civic Body (The 350z front clip raises the front end slightly and helps with the room needed to install everything. Slight, but enough.)
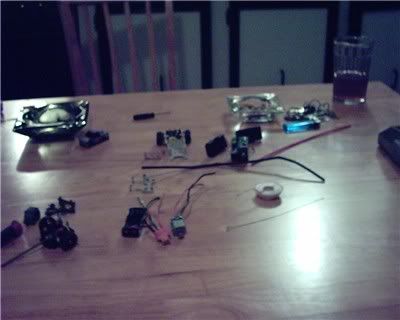
Nelly 1.2
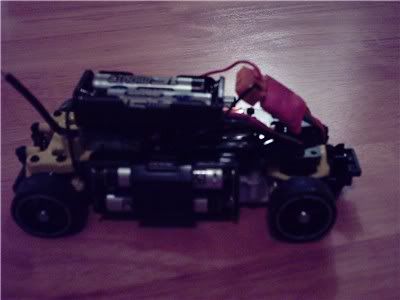
5&6 Cells added
14 Bearings
6 Ray-O-Vac IC-3's
AWD diff
Escalation motor
Blue cone gear
11 tooth pinion
Black rims
Super Glued tires
Alloy Nylok wheel nuts
Soft Slicks
RC Butler Green CF front Deck (slightly modded to fit Nelly 1.2 thru the center hole.)
Used the wire from the cell holder and installed and replaced the wires on the Escalation motor.
1"x1" square of Velcro
Metal heat sink
Heat shink on the lower part of antenna. 1" or so, to protect from shorting receiver out.
Speed before 6 cell, just Nelly 1.2, using a regualr speed checker topped out at 31 km.
After 6 cell with Nelly 1.2 it topped out at 35 km.
It has an
insane amount of torque, but now I need a motor that can fully take advantage of Nelly 1.2. A low wind motor. The Escalation motor just won't go any faster, its maxed out and so is the Stage 2 motor. A motor can only spin so fast, until you have to get a better built one. So to take full effect of the efficency of Nelly 1.2, I must find a BETTER motor now!!!
Thanks.....
Ph2t for developing, designing, constucting, and providing Nelly 1.2, the test motor, and online support. I purchased Nelly 1.2 from him. Please contact him for further ordering info.
Bird for his time, kitchen, and desire to get better at soldering. He helped and did alot of the work all the way to the final install. Great and clean job done, all the way around.
As for me, I supplied all the stuff and the testing grounds to install everything on. Research and Development supplies.
I will have some vid eventually. Soon I hope. The whole time, my 1:1 has been in the shop. So I haven't been able to hit the usually creepin' and filmin' spot. Soon.
I think I covered everything. If not I'll update the thread as it moves along.
Thanks for readin'!!!


 )
)


 Linear Mode

